

Make Your Own Pocket Notebook
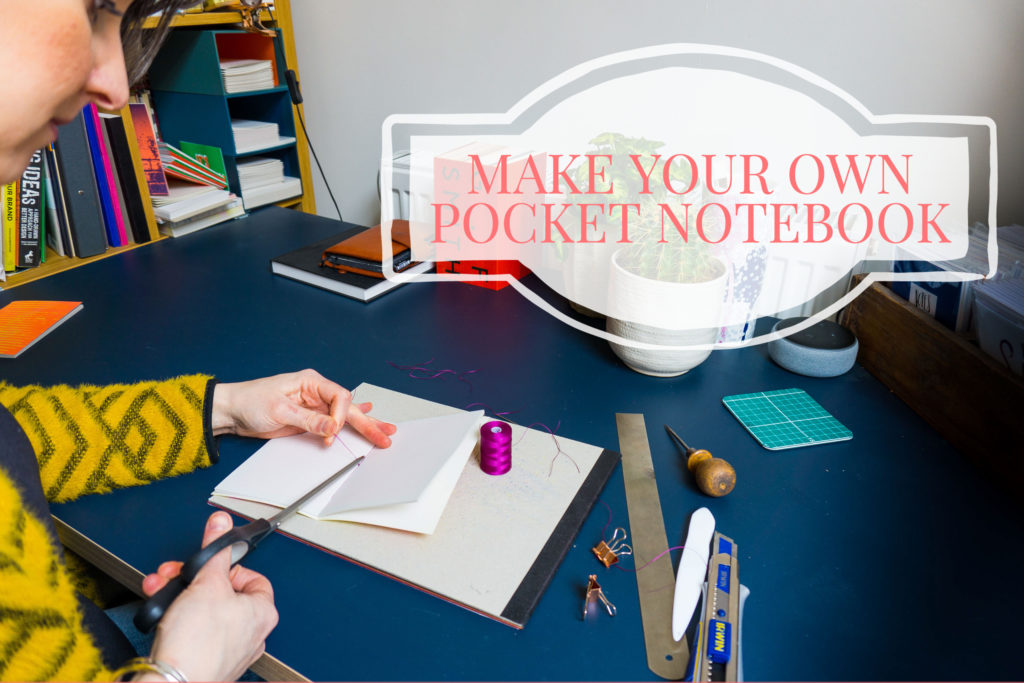 This step by step guide will show you how to make your own pocket notebook.
At the time of writing we are in “lockdown” here in the UK. As this is one of the most simple books you can make my hope is that you can do it without any special supplies. Use whatever you can find – sometimes a book made of scrap paper can be inspiring to write or draw in!
What You Need to Make Your Own Pocket Notebook:
 1 sheet x A5 Card for the cover (148 x 210mm)
- 10 sheets x A5 paper (148 x 210mm) this can be plain or a mix of lovely coloured papers for variety!
- 1 sheet of thick card such as the back of a sketchbook to stop you making holes in your table
- Ruler
- Needle & Thread
- Scissors
- Something sharp for poking holes (can also use your needle for this)
- Craft Knife (optional)
- Folder (optional)
- Couple of Bulldog Clips (optional)
Step 1

First you need to fold your 10 sheets of paper in half. For my notebook I am using A5 paper to make a small A6 notebook but you can use whatever size you wish! To make each fold a sharp crease you can use either a folder or your thumb nail. Once all your sheets are folded, place all your individual sheets inside each other so you have a little booklet – or what we call a “single section”.
 Fold your cover in half in the same way and put it around the outside of your folded sheets. Again, you can use whatever you wish for your cover. Perhaps the cardboard from a cereal packet. Or the thick glossy cover from a magazine or an old greetings card. You could even use part of that painting of your dog you did years ago where you accidently gave him five legs.
Step 2
Almost time for some sewing! Don’t worry, this part is also very easy, especially if you make your holes first. I used a couple of mini bulldog clips to hold my paper and cover together. This isn’t necessary but means that all your holes will line up perfectly when come to sewing.
The idea is to make three holes in the spine of your notebook. The first hole goes right in the middle, and the other two are about 2cm in from each side. You can measure this with a ruler or you can do it by eye and I’m sure you won’t go far wrong! If you have one you can use an awl or bradle to make these little holes. If not you can just do it with your sewing needle. Remember to do it on top of your cardboard sheet so you don’t make holes right through to your coffee table, or your own leg underneath!

Step 3
And now to my favourite part – sewing! Nowadays you’ll notice that most notebooks in the shops are held together by staples. This is a much easier way to make notebooks, especially if you are mass producing using machinery. But traditionally all books are sewn with a needle and thread. It is much prettier as you could use a lovely colour of thread. It is also longer lasting as staples often go horribly rusty and sometimes crumbly over time.
 Once you’ve found your specs and managed to thread the needle, open your booklet into the middle. Start from the inside. Pass your needle through the centre hole from the inside to the cover side then come back to the inside through the bottom hole. Keep hold of the end of your thread on the inside of your book with your thumb as you sew. From the bottom hole come all the way to the top top hole and pass your needle back through to the cover side again. Finally bring your needle back through the centre hole.
Both ends of your thread should now be in the same place in the middle of your book. You’ll have one long stitch in the middle going right from top to bottom. And two stitches on the outside of your booklet. Make sure that you have one end of your thread on one side of the long middle stich and one on the other side. Tie a little knot around this long stitch and snip off the extra thread.

Yay! – You’ve managed to make your own pocket notebook!
If you wish you can now trim the top, bottom and fore edge with your craft knife and straight edge – or you can leave it free and easy!
Now your notebook is ready to contain all your thoughts and ideas. You could use it as a little diary, record your favourite recipes or write and illustrate an exciting short story! The options are endless and now you can make your own pocket notebook you can make one for every purpose!
If you’ve made something from this “How-To” I’d love to see it! Tag me in your makes on Instagram @theblazingrebel and tell me what you’re using your notebooks for.
I have a selection of handmade notebooks in my online shop. Please take a look for some inspiration. Hopefully there will be more bookbinding tutorials to come – perhaps even some video tutorials!


+ COMMENTS